QA016 Leonardo R3 Development Board
1.Introduction
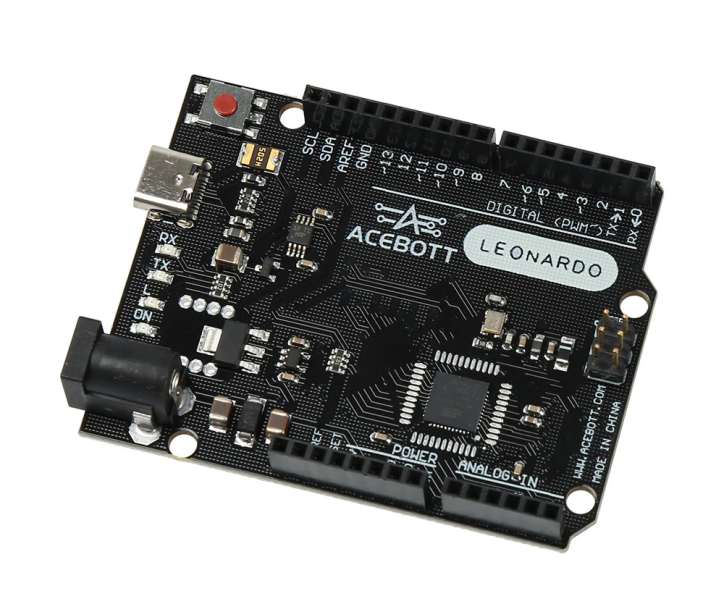
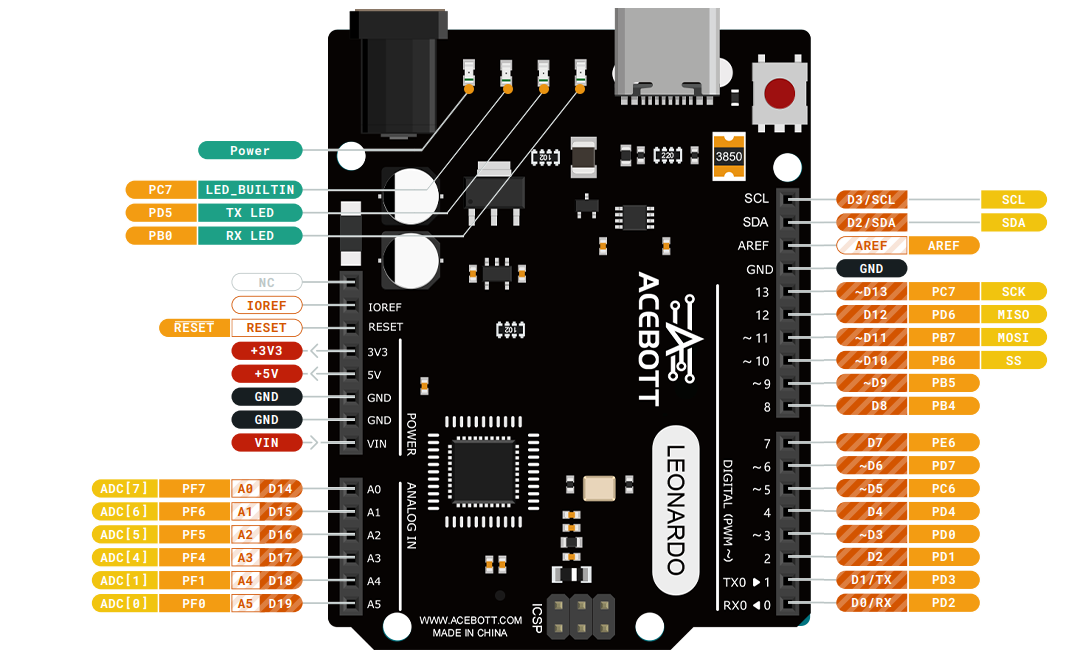
The ACEBOTT QA016 Leonardo development board is a microcontroller board based on the ATmega32u4, featuring 12 analog input pins, 20 digital I/O pins, and a built-in USB communication interface.
The ACEBOTT QA016 Leonardo development board includes digital I/O pins, analog input pins, PWM output pins, UART, I2C, and SPI interfaces, among others.
2.Features
Microcontroller: ATmega32u4
Operating Voltage: 5V
Input Voltage (Recommended): 7-12V
Input Voltage (Limit): 6-20V
Digital I/O Pins: 20
PWM Channels: 7
Analog Input Channels: 12
DC Current per I/O Pin: 40 mA
3.3V Port Output Current: 50 mA
Flash Memory: 32KB (ATmega32u4) - 4KB used by bootloader
SRAM: 2.5KB (ATmega32u4)
EEPROM: 1KB (ATmega32u4)
Clock Speed: 16MHz
3.Specifications
Parameters |
Value/Description |
|---|---|
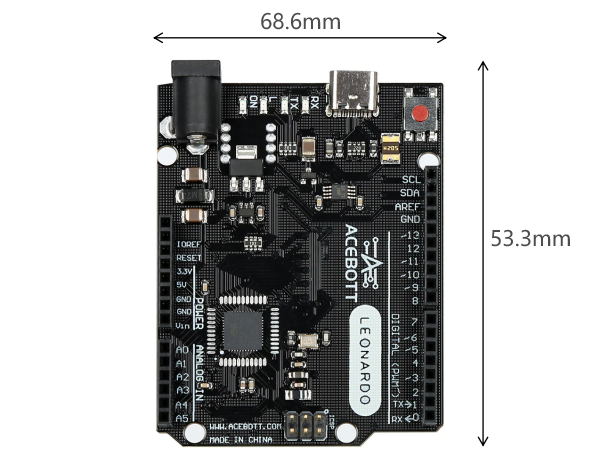
Size |
68.6X53.3(mm) |
Power supply |
Type-c |
Operating temperature |
10°C - 30°C |
Supported interfaces |
UART/GPIO/ADC/PWM/SPI/I2C |
Number of I/O ports |
20 |
Serial port baud rate |
Supports baud rates from 110 to 4608000 bps, defaulting to 115200 bps |
4.Sample Code
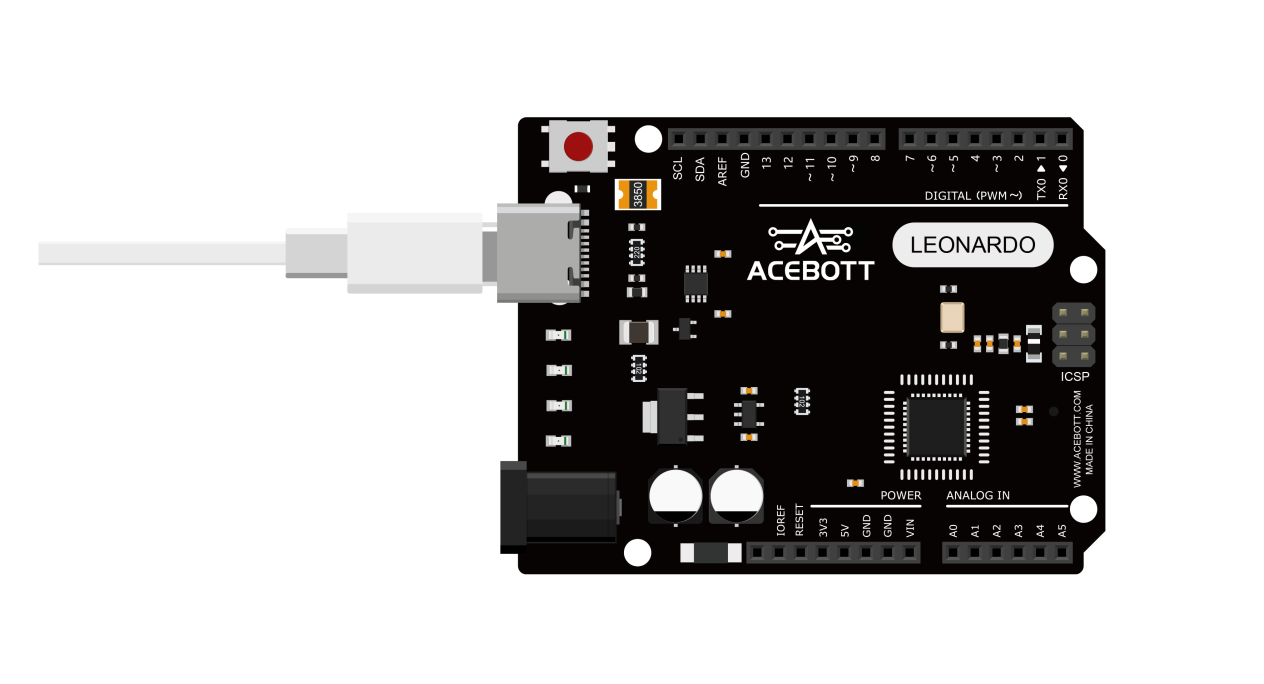
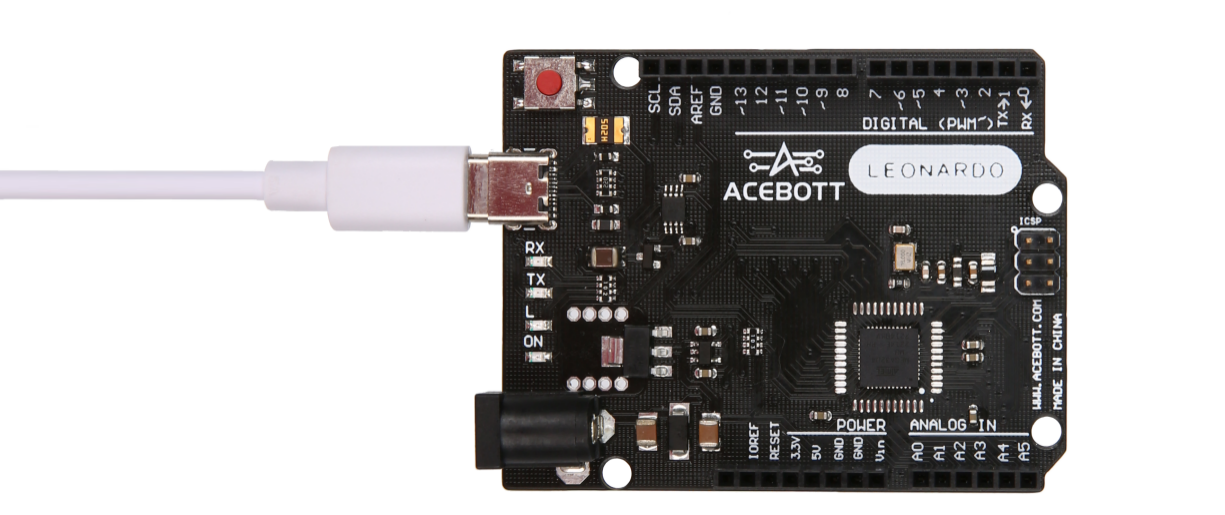
Connect the board to the computer using a USB data cable: Select “Arduino AVR Boards” -> “Arduino Leonardo” from the Tools > Board menu. Choose the appropriate Port. And upload it to the board using the Upload button.
(1)Wiring Diagram
(2)Sample Code
1void setup() {
2  Serial.begin(9600);//The serial port baud rate is set to 9600
3}
4void loop() {
5  Serial.println("Hello,ACEBOTT Leonardo");
6  delay(1000);//Delay for 1 second.
7}
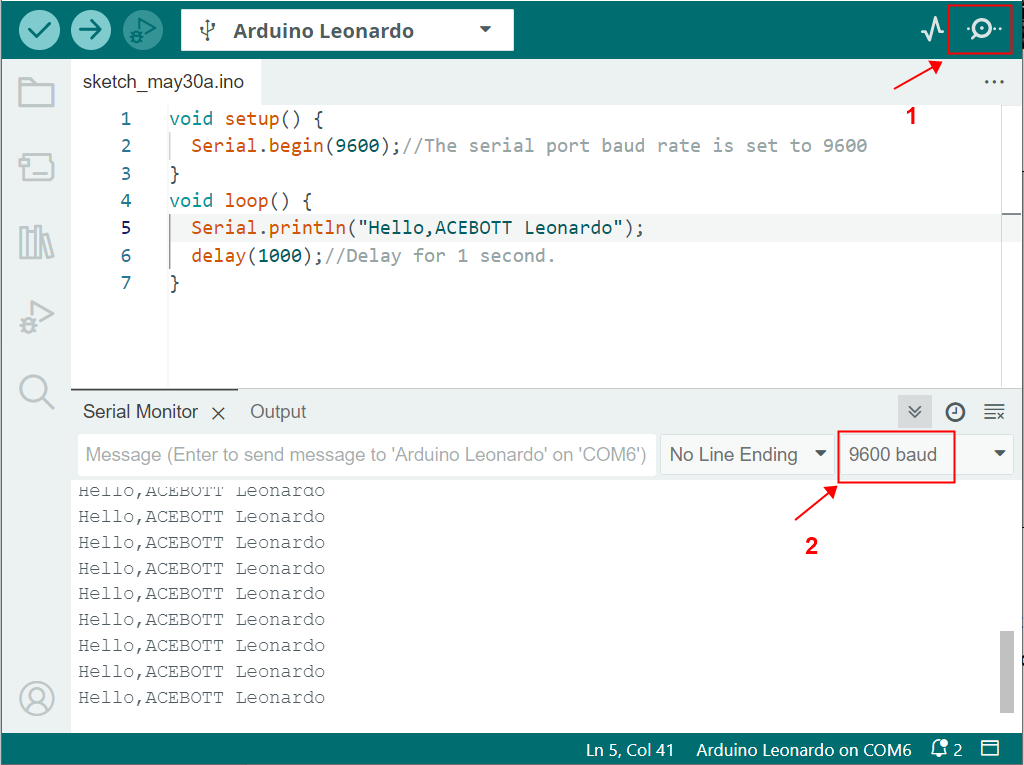
5.Test Result
After uploading the program, open the serial monitor in the Arduino IDE to observe the continuous serial printing of “Hello,ACEBOTT Leonardo”.
6.Related Resources
7.Get One Now
B2B Business: info@acebott.com